
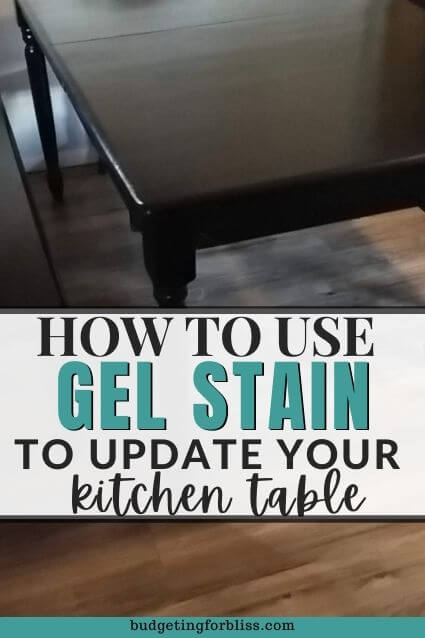
Are you looking for an inexpensive way to update your kitchen table without the hassle of stripping or heavy sanding? Check out these helpful tips and tricks to learn How to Gel Stain a Kitchen Table.
This post may contain affiliate links. You can read my full disclosure here.
At the beginning of last year, I spent a lot of time researching ways to update my kitchen on a budget. My main focus at the time was to update my old honey oak kitchen cabinets. Since I knew we couldn’t replace them without spending a fortune, I had to find another option.
I began to research ways to update the cabinets that didn’t involve stripping or sanding them down and came across General Finishes Gel Stain in the color Java. After reading all the positive reviews, I decided to take the plunge and order the gel stain from Amazon.
Fast forward to 5 months later and I am still in love with how they turned out. If you would like to learn more about how I transformed my kitchen cabinets. You can read my post-How to Gel Stain Your Cabinets on a Budget.
How to Gel Stain a Kitchen Table
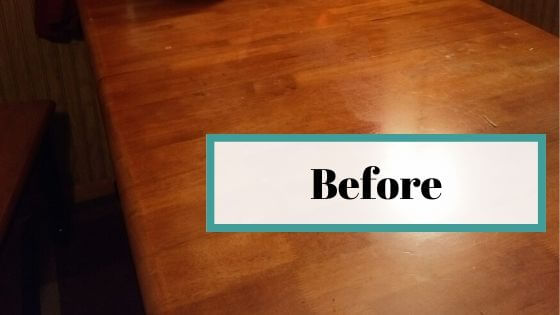
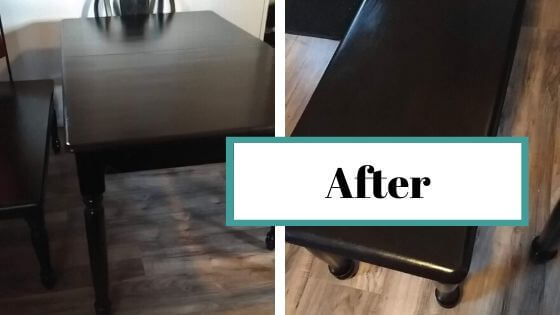
After having so much success with the cabinets, I decided to gel stain my honey oak kitchen table. The best part is that I didn’t even have to buy any more gel stain. There was enough in the one quart to cover my cabinets (10 doors, 5 drawers, and pantry door), table, and benches. It goes a long way and the results were fantastic.
The supplies that I used to gel stain my table were:
-
- Foam brushes or cotton socks (your choice)
I liked how the sock method worked for the cabinets so I decided to do the same thing with my table. - Tack Cloth– To remove any dust that occurs after giving it a quick sanding.
- Sanding Block- I purchased mine at the Dollar Tree.
- TSP Cleaner–To clean surfaces.
- Nitrile Gloves– Disposable gloves so you prevent any gel stain from getting on your hands.
- General Finishes Gel Stain in Java– I highly recommend it. It’s so easy to use and can be used for many different projects in your home.
- Minwax Wipe on Poly– A simple solution and it applied very smoothly.
- Steel Wool (optional)
- Mineral spirits- to clean up any areas where a spill may occur.
- Foam brushes or cotton socks (your choice)
Prepare your surface
After gathering your supplies, make sure to prep the surface. On the benches, I used the TSP Cleaner and sanded it down very little (less than one minute). However, since our table had an uneven finish we used a sander to even it out.
Keep in mind this is not necessary as I have found from working with gel stain that it turns out just as good if not better when it’s lightly sanded or scuffed. Just make sure you are sanding with the natural grain of the wood.
After sanding, make sure to wipe the surface with a tack cloth to remove any sanding dust that might have been left behind.
Important Tip: When prepping your surface, make sure to clean with TSP Cleaner or a Degreaser if you notice any grease or oily residue from your hands on the surface. If there is any oil left, the gel stain may not adhere.
How to Apply
Before you begin, put on disposable gloves. You can use mineral spirits if it happens to drip while you are applying it. I used a plastic drop cloth from Dollar Tree to protect my floor.
When applying gel stain, you can either use a foam brush or a sock. Since I was so successful using the sock method with my kitchen cabinets, I decided to use the same method on my kitchen table. It allowed me to have better control over how much stain I was applying. Make sure to apply in light, even strokes following the grain.
Remember, the first coat will look streaky. So don’t freak out. After each coat, it looks better and better. It should have solid coverage with the natural wood grain showing through when you are finished.
After applying the first coat, I let it dry for a full 24 hours and then applied a second coat. I waited another 24 hours before applying my third and last coat. Between each coat, I also used steel wool to even out the finish since we had sanded down the table. I wanted to make sure I was going to end up with a nice, smooth finish.
If you are just lightly sanding your table, then you don’t have to use steel wool. I didn’t when I applied the gel stain to the benches. However, if you notice it goes on thicker in some spots then the steel wool will smooth it out for you.
Important Tip: Weather and high humidity can impact the drying time. If you are attempting to do the project when it’s colder or rainy. It may take longer to dry.
Protect the Surface
The last step is to protect all your hard work with polyurethane. I purchased Minwax Wipe on Poly because of its ease of use. I applied 3 coats, letting it dry completely (about 12 hours between each coat).
FAQ’s
Do you have to wipe off the gel stain?
I didn’t and you don’t have to as long as you are applying it in light, even strokes. It also helps to work slowly and in small sections. If you are looking for a more solid coverage then this will probably work best for you.
However, if you are looking for lighter coverage then you can wipe off the gel stain after applying each coat. Just apply with a foam brush and then wait for just a few minutes before wiping off the excess with a cloth.
Why isn’t my gel stain drying?
As I mentioned above, humidity and weather can impact the drying time. Although the can of gel stain states that it can take between 12-24 hours to dry, it may take as long as 48 hours.
If it’s still not dried or if it appears sticky, it could be that there was some oily residue that was left behind after cleaning. This happened on a door that I stained. When I attempted to apply a second coat to the gel stain, the first coat came off despite letting it dry for a couple of days. If this happens, use a stripping pad and a degreaser to clean the surface again and then reapply the gel stain.
I think you will find gel stain to be a great alternative to traditional staining. It allows you to change your existing finish without all the hassle that comes with stripping and sanding. You can completely transform your furniture with this easy and cost-effective solution.
Don’t forget to check out how I used General Finishes gel stain to update my kitchen cabinets on a budget.
Sign up for my Free Resource Library. You will find inspirational wall quotes to decorate your home and more.
Follow me on Pinterest for more ways to DIY on a budget.
