
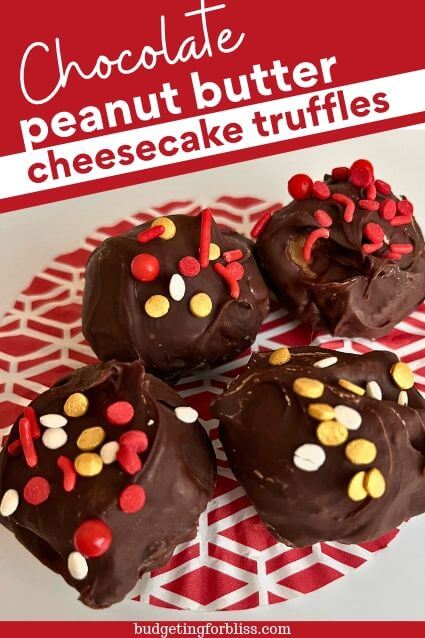
Looking for a quick and easy Christmas candy recipe to add to your holiday dessert tray this year? These chocolate peanut butter cheesecake truffles are the perfect make-ahead Christmas treat to share with family and friends this holiday season.
This post may contain affiliate links. You can read my full disclosure here.
Love printables? Sign up here to access my free resource library that has meal planning printables such as shopping lists and favorite meal worksheets.
There is nothing better during the holidays then deliciously sweet Christmas treats, especially those that are no-bake with simple ingredients. These chocolate peanut butter cheesecake truffles combine all my favorite flavors into one easy Christmas treat that’s perfect for sharing, gifting, or adding to dessert trays during the holiday season.
These Christmas truffles have a creamy peanut butter cheesecake center, dipped in melted milk chocolate, then finished with holiday sprinkles. Plus, with no baking required they are perfect to make with your kids for a festive candy that everyone will enjoy. So, if you love the flavors of chocolate, peanut butter, and cheesecake like I do, then these fun truffles are perfect to add to your list of no-bake holiday treats to make this Christmas.
Why You Will Love These Chocolate Peanut Butter Cheesecake Truffles
- Great for making ahead as you can prepare them a couple days before Christmas so you have one less thing to worry about during the busy holiday season.
- Perfect for sharing as these bite-sized treats are great for Christmas parties, cookie exchanges, adding to holiday treat bags, or enjoying with friends and family.
- Budget-friendly since you don’t need any expensive ingredients to make these delicious homemade Christmas treats.
Looking for more easy Christmas desserts?
- Christmas Peanut Butter Truffles
- 50 Delicious Peanut Butter Dessert Recipes
- 45 Decadent Chocolate Desserts
- 36 Festive Christmas Cheesecake Recipes
Chocolate Peanut Butter Cheesecake Truffles
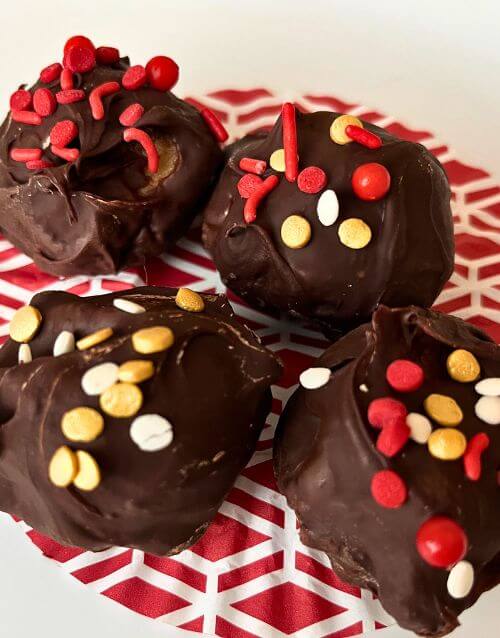
Ingredients for these Christmas Chocolate Cheesecake Truffles
If you are looking for an easy homemade candy recipe to make this Christmas, you will love these chocolate peanut butter cheesecake truffles that are perfect for holiday parties, dessert trays and fun edible Christmas gifts.
You will need:
- creamy peanut butter
- cream cheese
- powdered sugar
- vanilla extract
- milk chocolate chips
- Christmas sprinkles
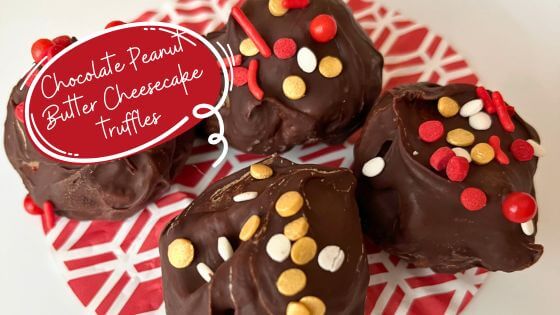
How to Make These Chocolate PB Cheesecake Truffles
- In a large bowl, combine the softened cream cheese and peanut butter, mixing until smooth.
- Add the powdered sugar and vanilla extract, mix until a thick dough forms.
- Then, roll into small balls and place them on baking sheet lined with parchment paper and refrigerate for 20 minutes so they firm up so they are easier for dipping.
- Meanwhile, add the milk chocolate chips to a microwave-safe bowl and microwave for 30 seconds, stirring between each interval until it’s completely melted and smooth.
- Using a fork, dip each peanut butter cheesecake ball into the melted chocolate, allowing any excess chocolate to drip off.
- Place back on the baking sheet and immediately decorate with your holiday sprinkles.
- Refrigerate until the chocolate coating is firm. Then, enjoy!
Helpful Tips
- Use softened cream cheese as it makes it easier to combine with the peanut butter and prevents lumps.
- If the filling feels too sticky to work with you can refrigerate for 20 minute before rolling into balls.
- Also, chilling the peanut butter balls before dipping helps them to hold their shape when they are coated in the melted chocolate.
Variations
- Swap out the milk chocolate for dark chocolate or white chocolate.
- Sprinkle crushed peanuts instead of the sprinkles for some extra crunch.
- You can also drizzle white chocolate over the truffles instead of using holiday sprinkles to change them up.
Storage
- Since these truffles are made with cream cheese, they need to be stored in the refrigerator in an airtight container for up to 5 days. They can also be frozen for 2 months when placed in a freeze-safe container. Then, when you are ready to enjoy, transfer them to the fridge to thaw before serving.
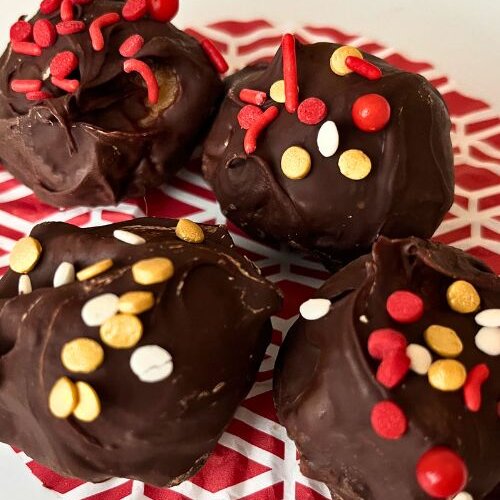
Chocolate Peanut Butter Cheesecake Truffles
Ingredients
- 1 cup creamy peanut butter
- 4 ounces cream cheese softened
- 2 cups powdered sugar
- 1 tsp vanilla extract
- 2 cups milk chocolate chips
- holiday sprinkles for decorating
Instructions
- In a large bowl, combine the softened cream cheese and peanut butter, mixing until smooth.
- Add the powdered sugar and vanilla extract, mix until a thick dough forms.
- Then, roll into small balls and place them on baking sheet lined with parchment paper and refrigerate for 20 minutes so they firm up so they are easier for dipping.
- Meanwhile, add the milk chocolate chips to a microwave-safe bowl and microwave for 30 seconds, stirring between each interval until it's completely melted and smooth.
- Using a fork, dip each peanut butter cheesecake ball into the melted chocolate, allowing any excess chocolate to drip off.
- Place back on the baking sheet and immediately decorate with your holiday sprinkles.
- Refrigerate until the chocolate coating is firm. Then, enjoy!
Notes
Helpful Tips
- Use softened cream cheese as it makes it easier to combine with the peanut butter and prevents lumps.
- If the filling feels too sticky to work with you can refrigerate for 20 minute before rolling into balls.
- Also, chilling the peanut butter balls before dipping helps them to hold their shape when they are coated in the melted chocolate.
Variations
- Swap out the milk chocolate for dark chocolate or white chocolate.
- Sprinkle crushed peanuts instead of the sprinkles for some extra crunch.
- You can also drizzle white chocolate over the truffles instead of using holiday sprinkles to change them up.
Storage
- Since these truffles are made with cream cheese, they need to be stored in the refrigerator in an airtight container for up to 5 days. They can also be frozen for 2 months when placed in a freeze-safe container. Then, when you are ready to enjoy, transfer them to the fridge to thaw before serving.
Don’t forget to sign up for my Free Resource Library to grab my meal planning printables. You will also get access to lots more printables all completely free for you to print out and enjoy!
Follow me on Pinterest for more recipes and meal planning inspiration
